|
10/30/2016 2 Hiccups when Installing our Roller Furler
When I upgraded my last boat to a roller furler it was the thing that had the greatest effect on my desire to go sailing. Without it I would have to go to the foredeck when I least wanted to and deal with a crazy flapping monster. Then I would either have to set it up or tear it down while getting sprayed and soaked with saltwater.
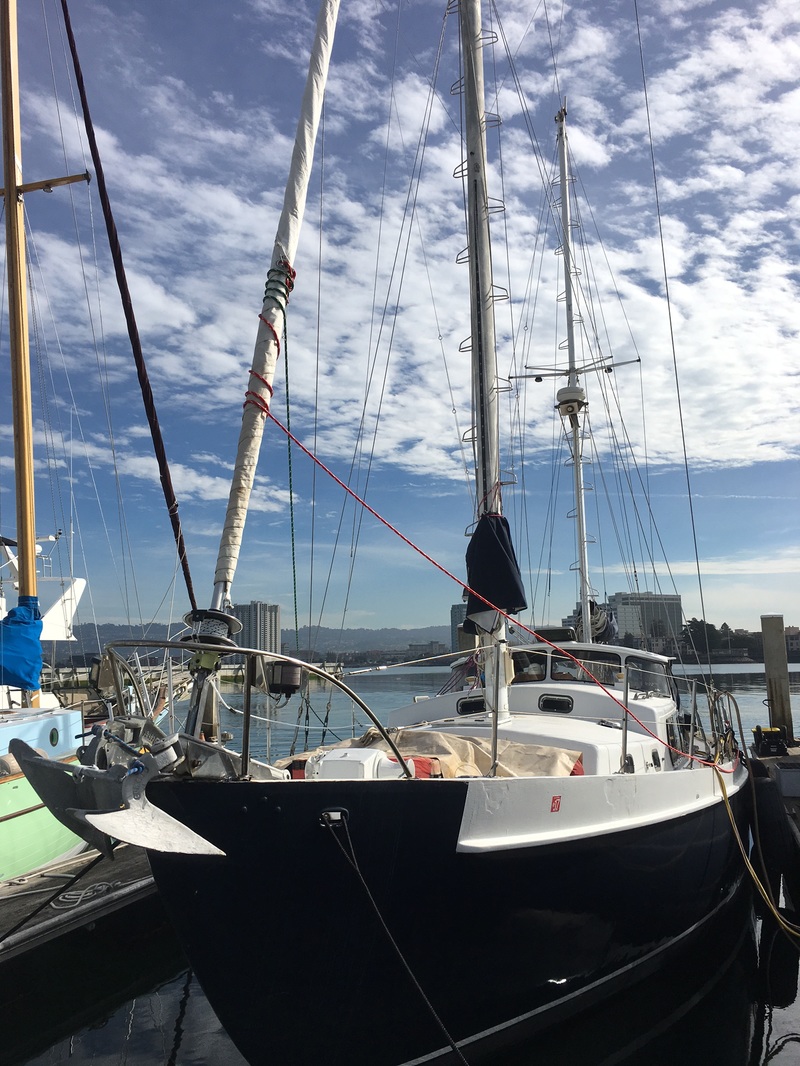
The upgrade roller furler was magic. Roll out. Roll up. All from the safety and comfort of the cockpit. Well, Liquid came equipped with dual headstays. I guess this was because it allows a racing boat to raise a second headsail before the other is lowered. This works fine if we had a large crew on board but not so well for two people. We knew we wanted to upgrade as soon as it was realistic.
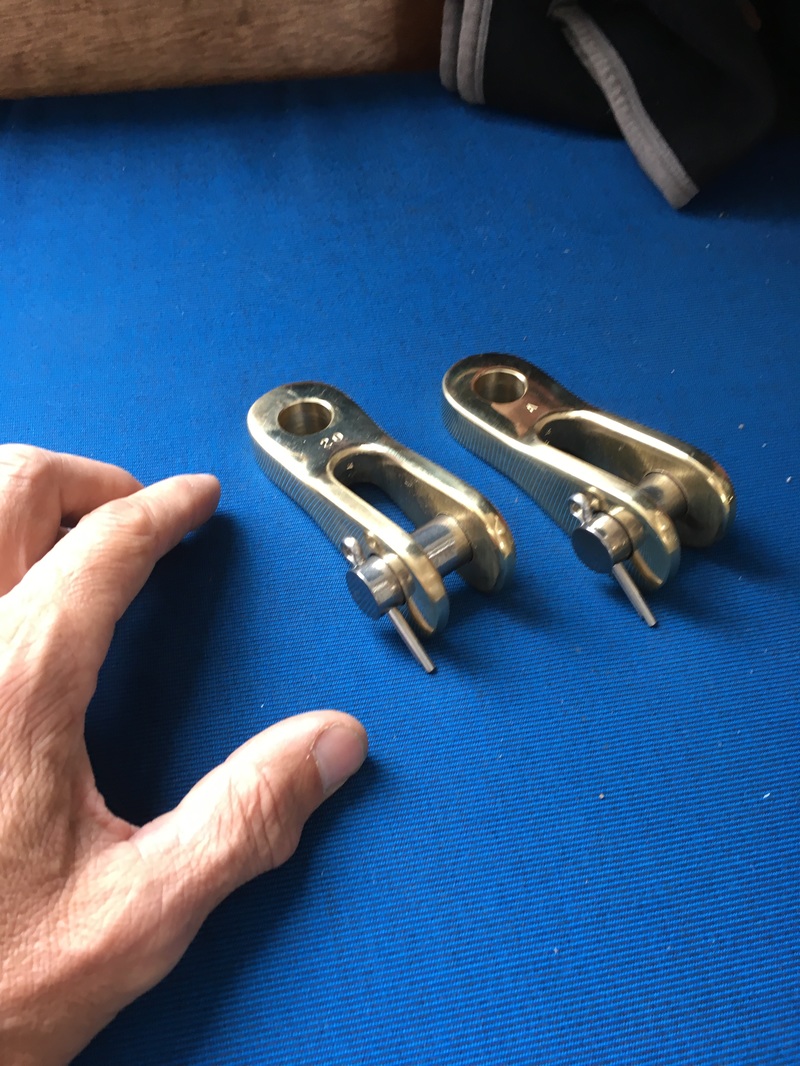
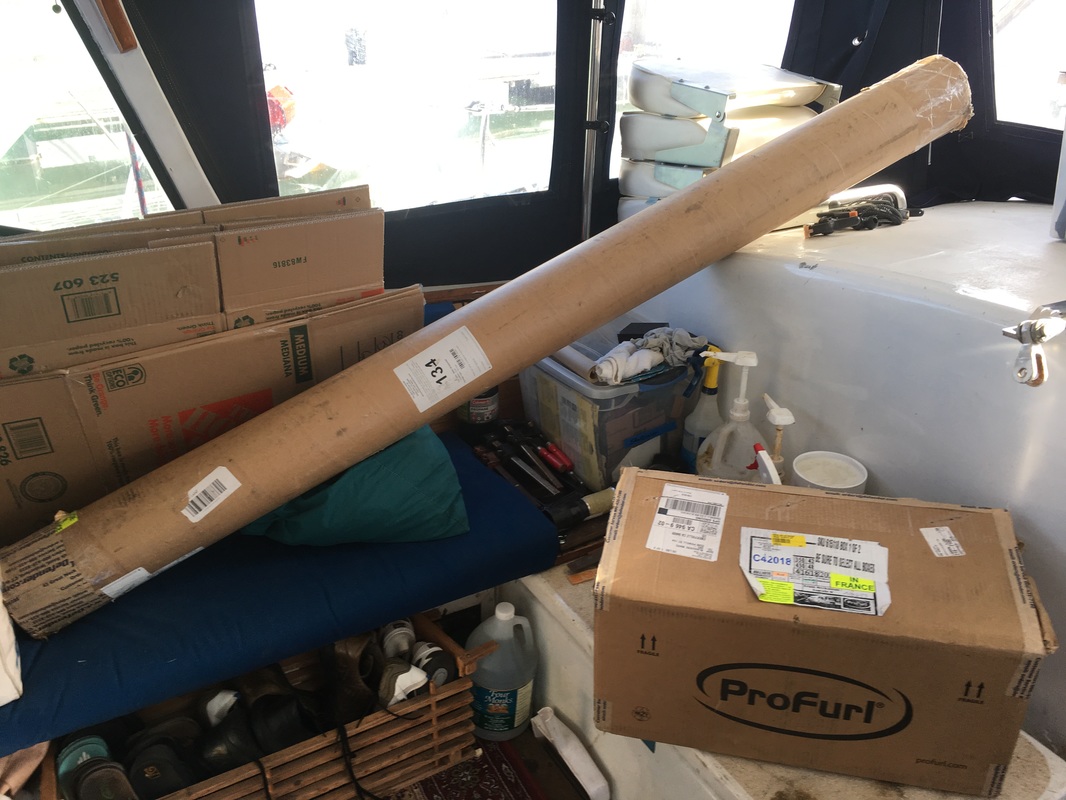
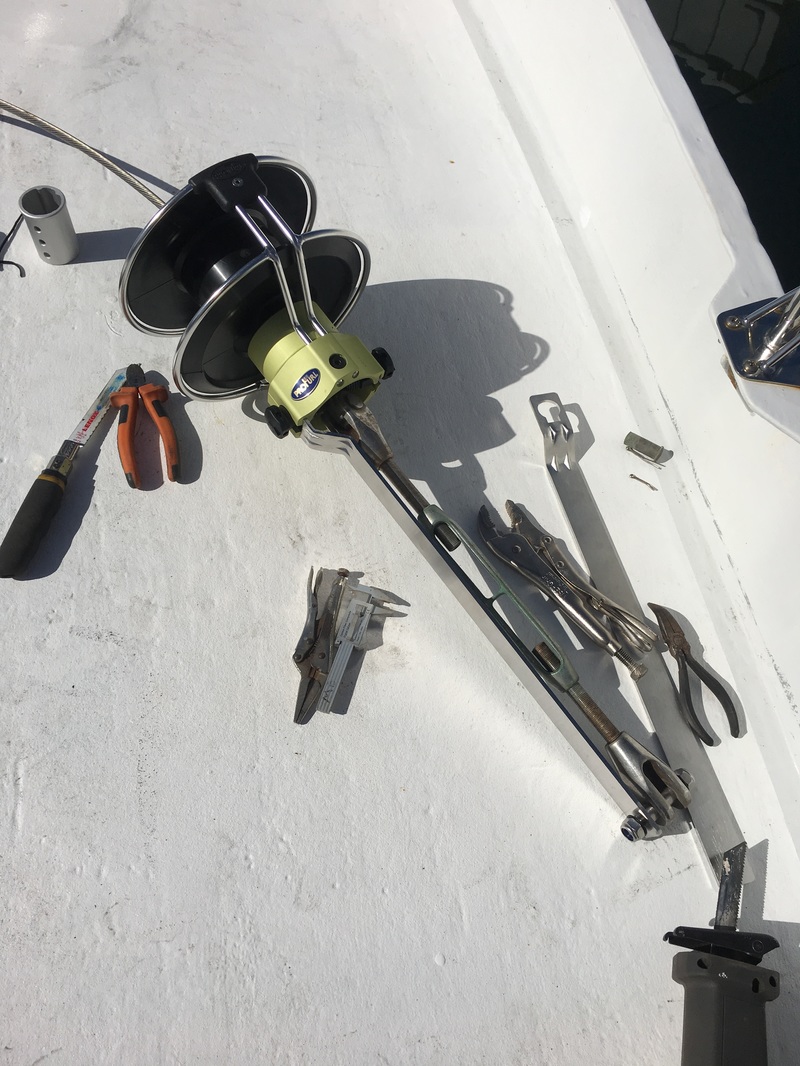
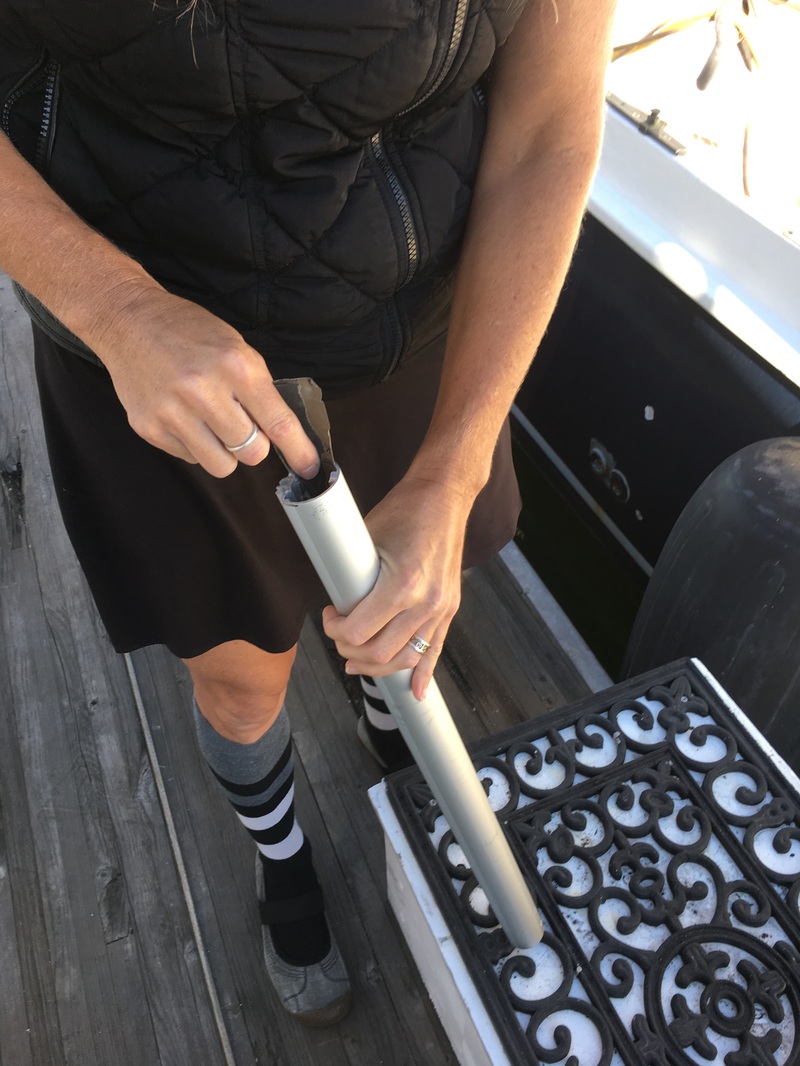
I ordered some new toggles while we worked on assembling the foils and furler drum. The first thing we did was assemble the drum on the end of the stay to be sure things actually fit. Once that was confirmed we moved out onto the docks to start the assembly.
Our second hiccup was that the foils wouldn't fit over our sta-lok fitting at the bottom of the stay. Luckily we could slide them over the pressed fitting at the top. We got them all on and carefully cut and sanded the final one to get the length right. Sliding them on from the top eventually complicated the final assembly and there wasn't enough room to get the last foil bearing on. Somehow the instructions are in a certain order for a reason! After some pulling and pushing we finally got it on and it was time to raise it up. 
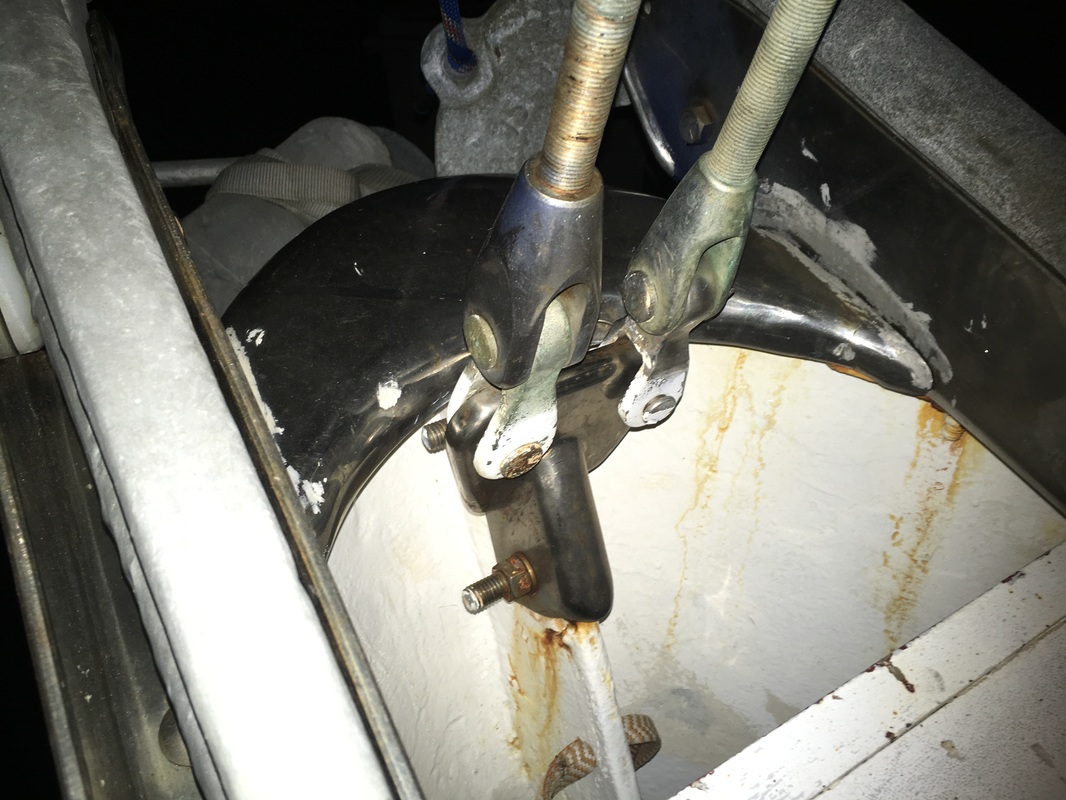
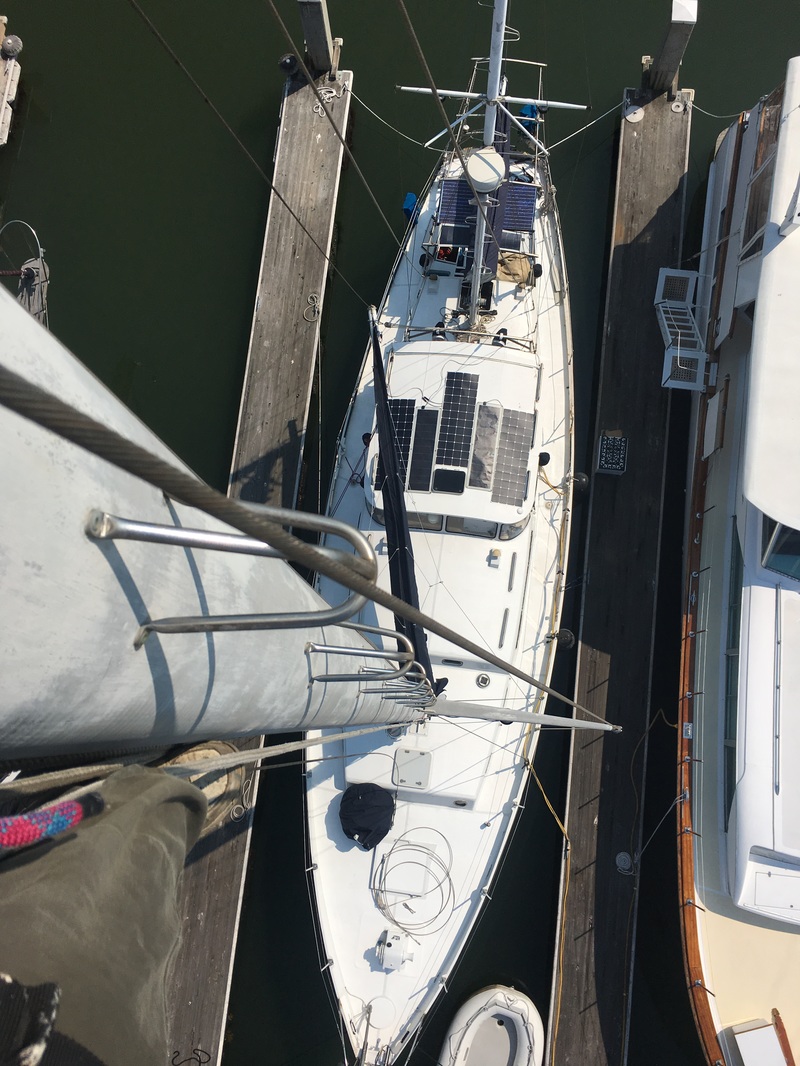
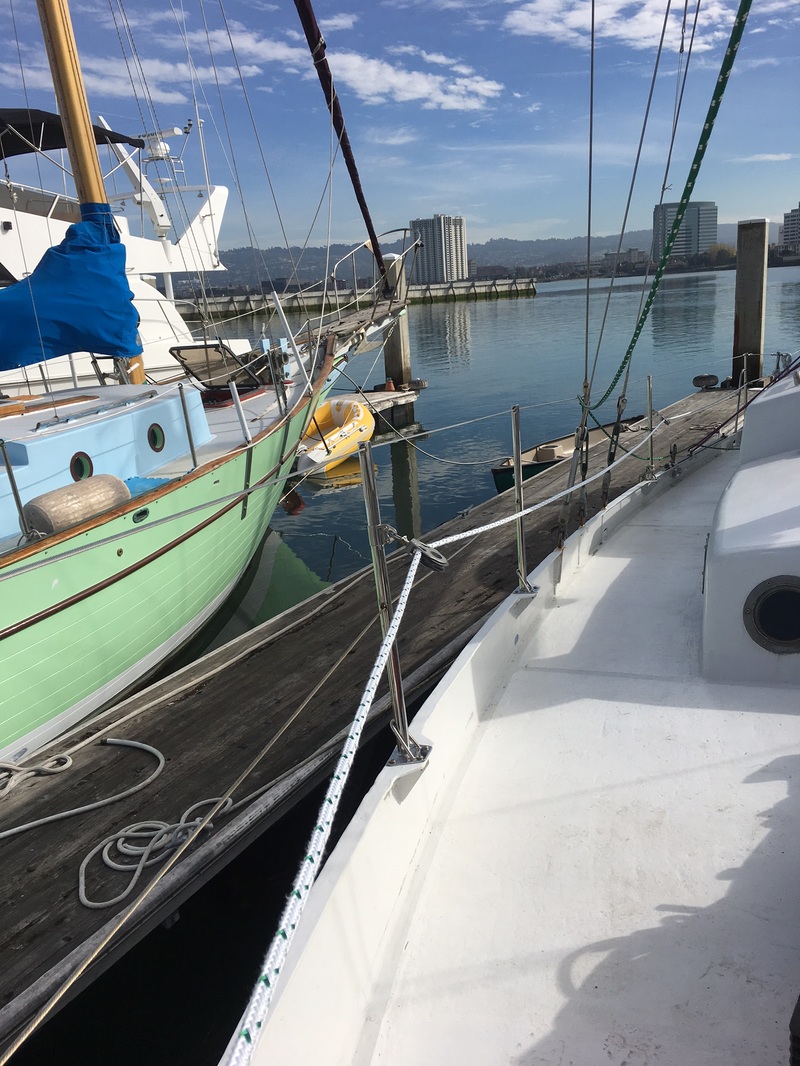
With the help of our dock mate we tied the top to the halyard and hauled her up. We got the top of the stay attached and let the bottom hang by the shrouds. After a few days the toggles arrived and we could finish our assembly of the stay.
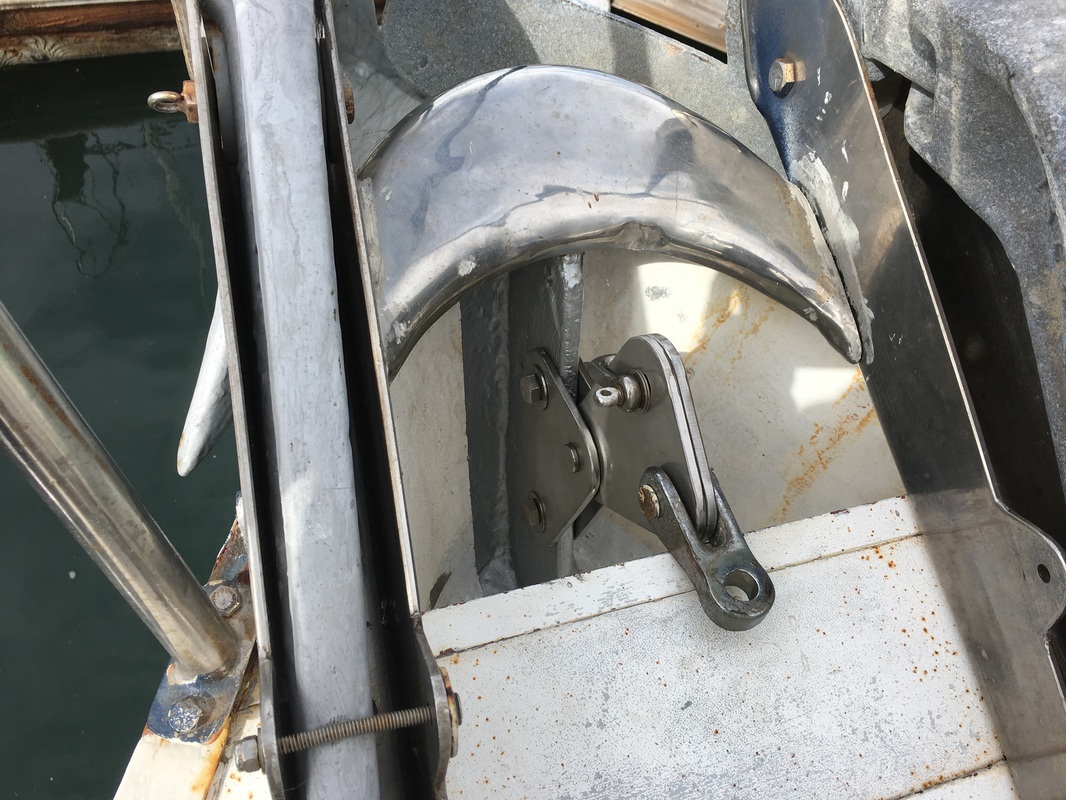
Btw. We needed two toggles to get the orientation right with the furler drum. With only one toggle it would have been rotated clockwise 90 degrees which would have led to issues with the furling line lead.
We attached the foil and drum and then ran the furling line back to the cockpit. We used some small blocks we had in storage and ran the line though them. Thats when I realized that the line I originally bought was too short. I never accounted for the full length of the sail as well as the length of the boat. Oh well. Back to Amazon to order the right size and we are mostly good to go!!
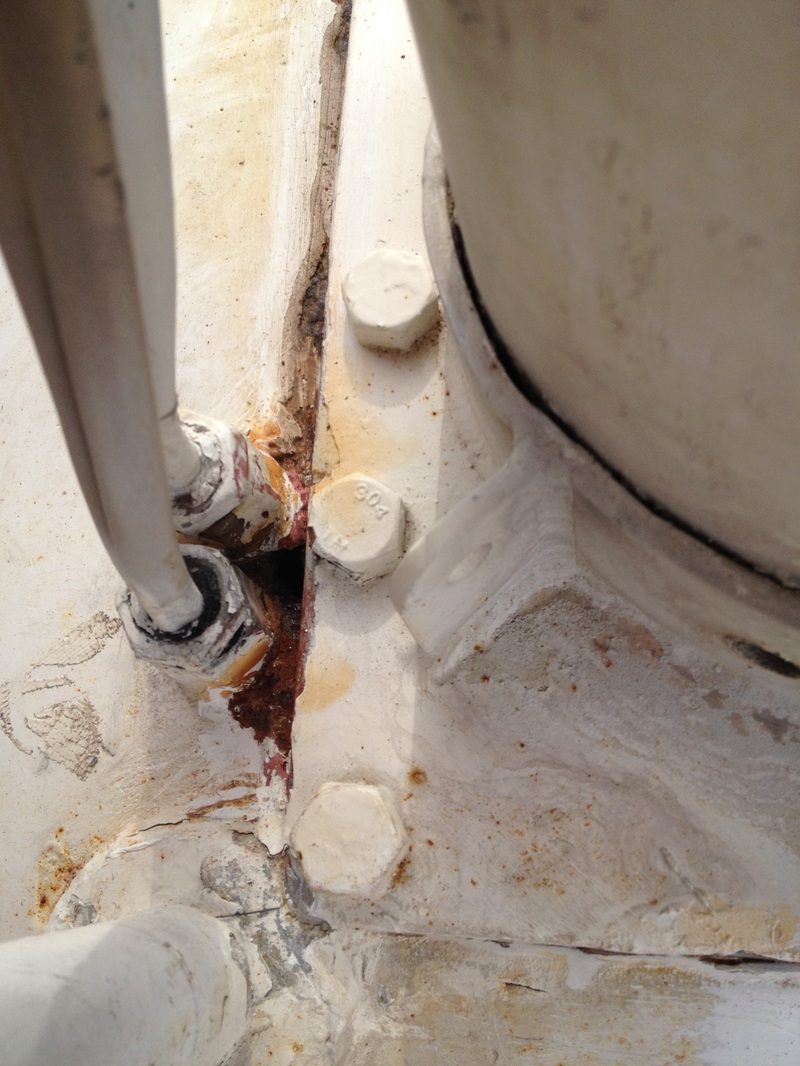
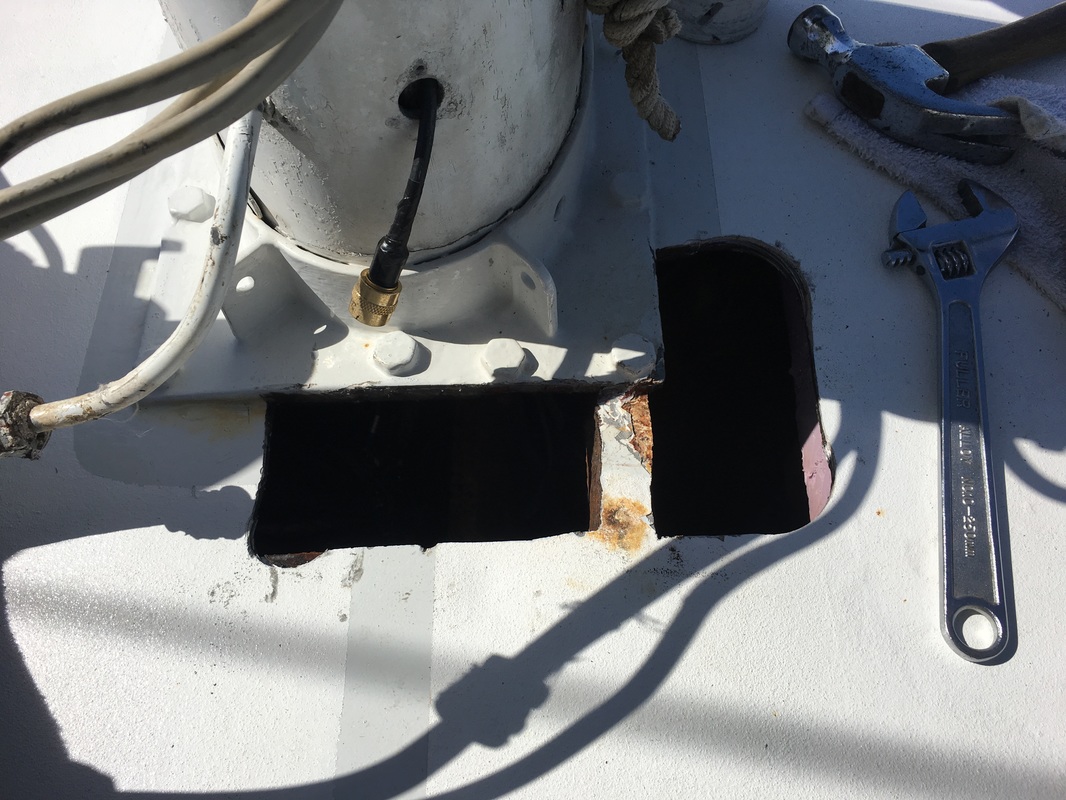
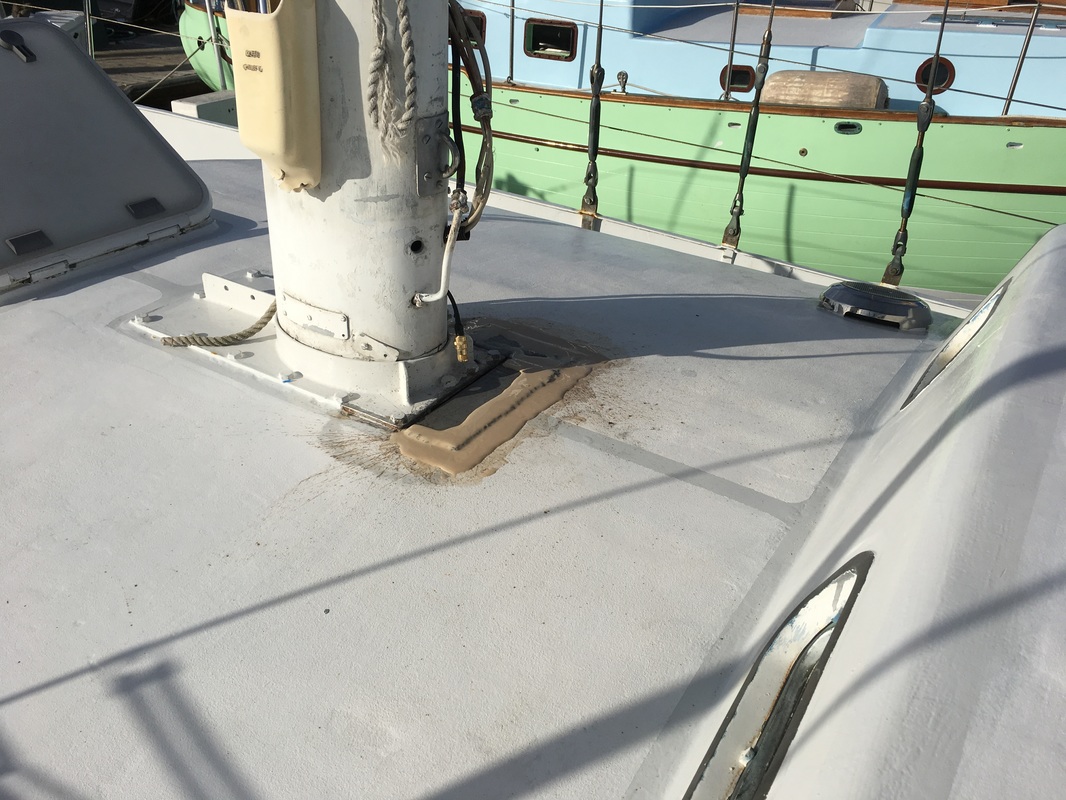
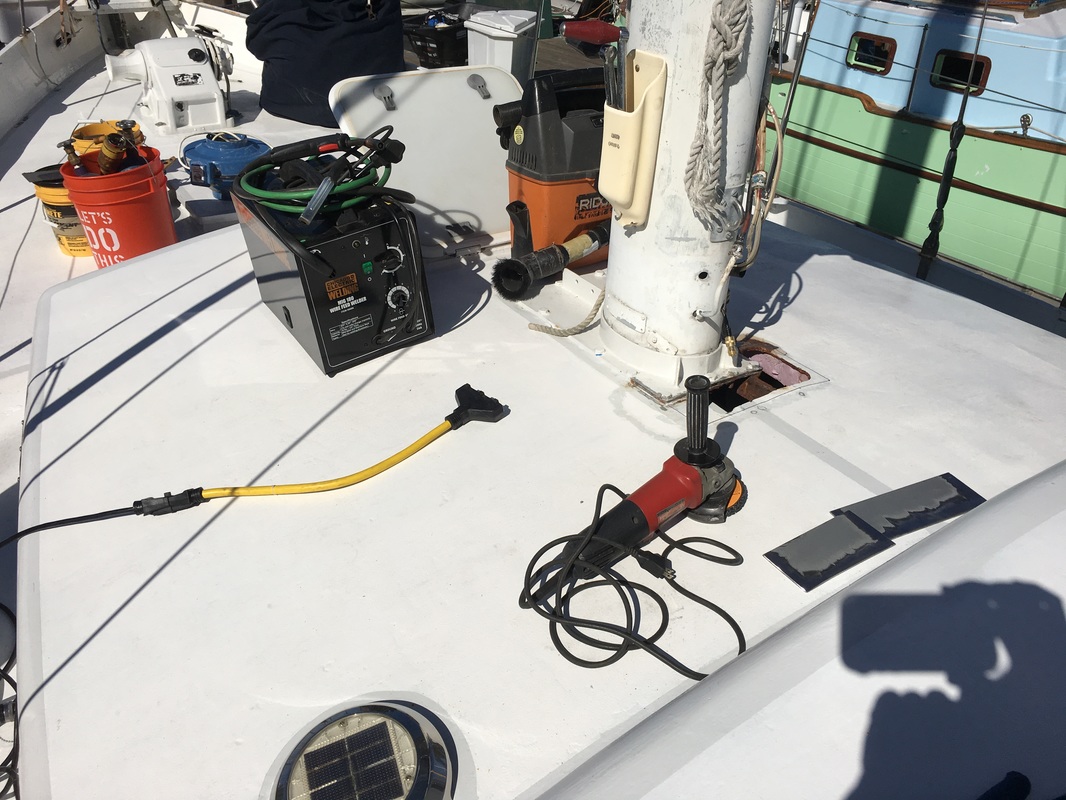
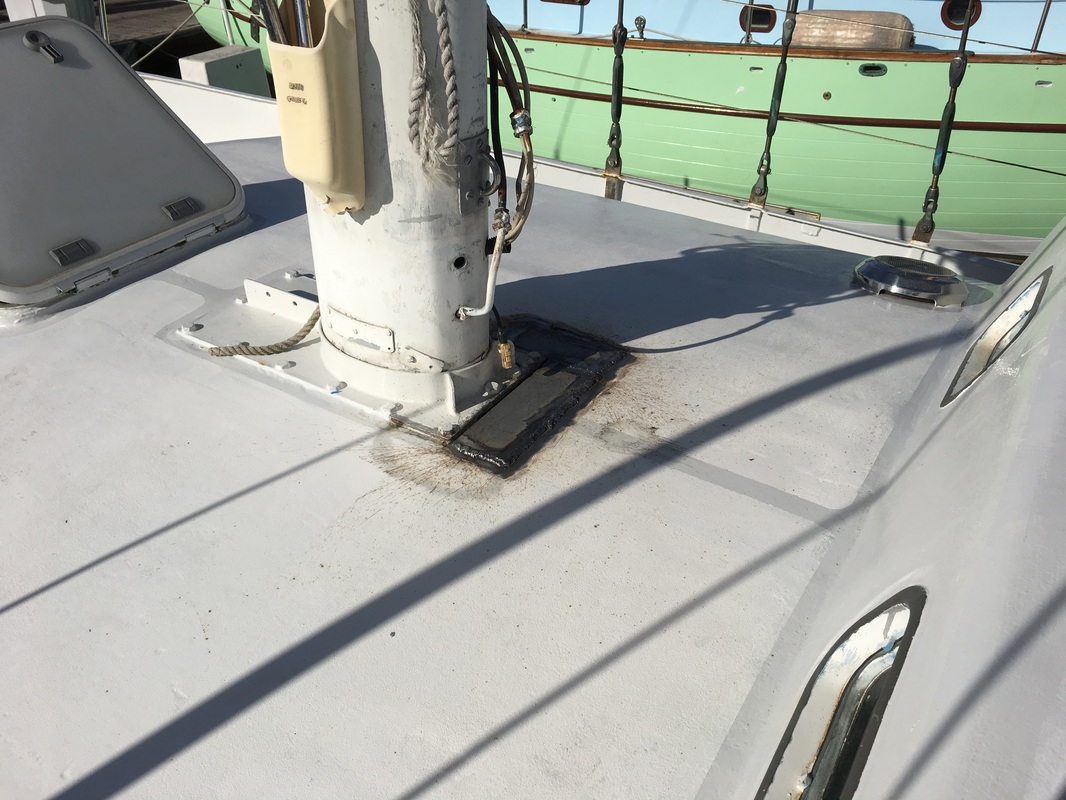
10/27/2016 Mast Base repairThis weeks project was dealing with the old wiring thru hull at the base of the mast. This area has been a problem for years because the the fittings were old and a proper repair is difficult. A proper repair involves dropping the mast which wasn't realistic for us these days. Anyway we tried a variety of duct tape and other "super temporary" solutions but obviously nothing worked properly. Since we don't have the means to deal with the full repair now we needed to find a reasonable repair solution until it can be dealt with properly.
Next we started welding in the plates. As we were just getting set up we didn't immediately realize we had run out of welding gas. Things didn't go so well at first. A bit of cursing and head scratching ensued. Once I figured out the problem I switched over to flux core wire and everything worked fine. Once the plates were welded we sealed everything up with 2 part epoxy and some sand-able filler. This helps protect the steel and will let us smooth out the weld without grinding it down. We sealed the last seam with polysulphide and left everything to dry and cure properly. We will be repainting the entire boat later this winter so this is where the project ends.. (for now....)
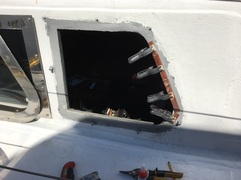
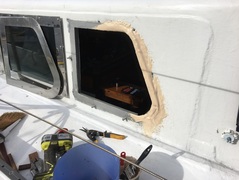
10/15/2016 Leaky Window...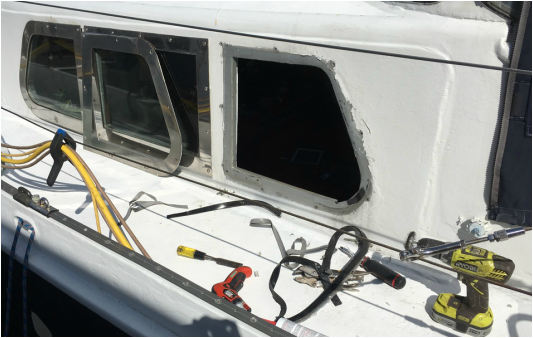 One of our port salon windows had a small leak. Nothing much but after a steady rain a small drip would develop. I knew eventually I'd have to deal. With rain coming this weekend I knew it was time.
I unscrewed the frame and peeled off any sticky stuff that was left. Unfortunately there was a large gap at the aft end of the window left from an earlier repair. I was going to have to deal with that too. I glued on some small wood pieces to act as filler and then covered everything with 2 part epoxy mixed with sandable filler. A quick sand, paint and some new gasket material and we were good to go. 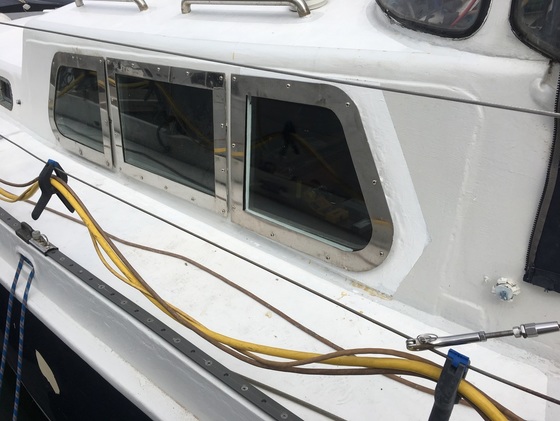 2 Part Epoxy from Tap Plastics - You can find them here
|
AUTHORSMarc and Laura. Hit SUBSCRIBE to follow our adventure on YouTube. Archives
July 2018
Categories |


 RSS Feed