SVLiquid
  • HOME
  • BOAT
    • General Overview
    • Cockpit
    • Forward Cabin
    • Aft Cabin
    • Salon
    • Galley
  • UPCOMING PASSAGES
    • Sea of Cortez
    • Pacific Crossings
    • Alaska & Inside Passage
  • PAST ANCHORAGES
    • United States >
      • California
    • Mexico >
      • Pacific Baja
      • Pacific Mexico
    • Central America >
      • El Salvador
      • Nicaragua
      • Costa Rica
      • Panama
  • CREW
    • FAQ
    • RESPONSIBILITIES
    • WHAT TO BRING
    • SHARING COSTS
    • PAPERWORK
    • CREW AGREEMENT
  • ABOUT
  • THOUGHTS
Search by typing & pressing enter

YOUR CART

10/30/2016

2 Hiccups when Installing our Roller Furler

When I upgraded my last boat to a roller furler it was the thing that had the greatest effect on my desire to go sailing.  Without it I would have to go to the foredeck when I least wanted to and deal with a crazy flapping monster.  Then I would either have to set it up or tear it down while getting sprayed and soaked with saltwater.  

​The upgrade roller furler was magic.  Roll out.  Roll up.  All from the safety and comfort of the cockpit.  

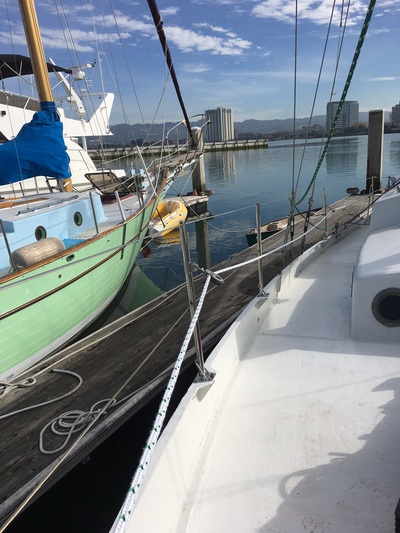
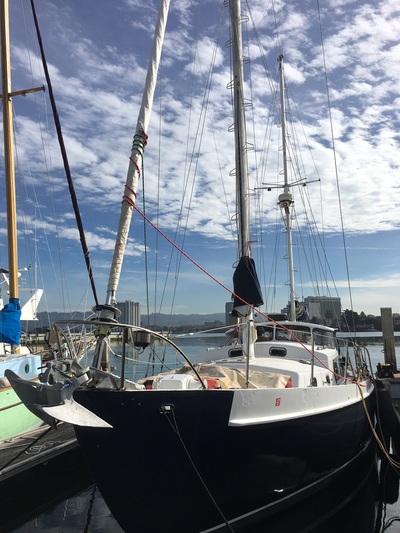
Well, Liquid came equipped with dual headstays.  I guess this was because it allows a racing boat to raise a second headsail before the other is lowered.  This works fine if we had a large crew on board but not so well for two people.  We knew we wanted to upgrade as soon as it was realistic.


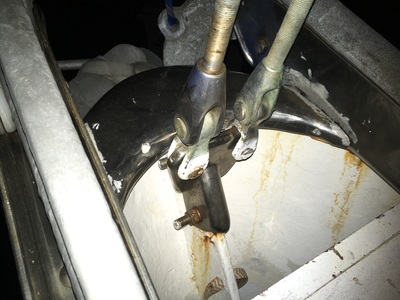
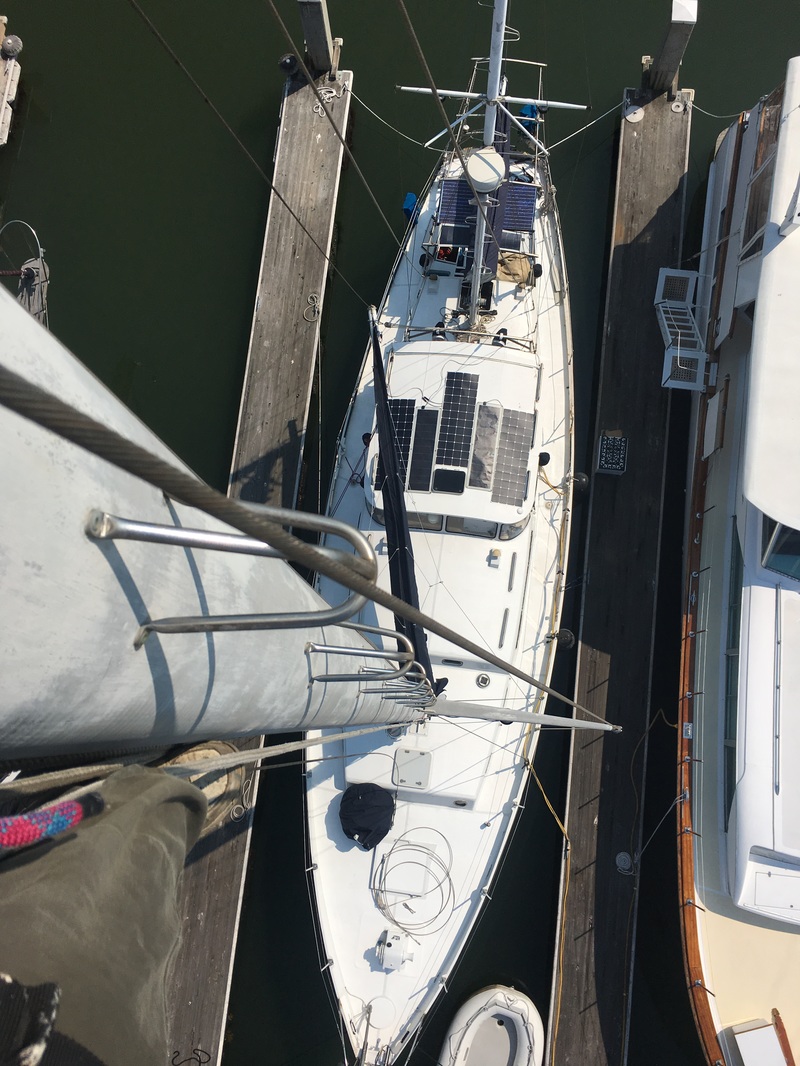
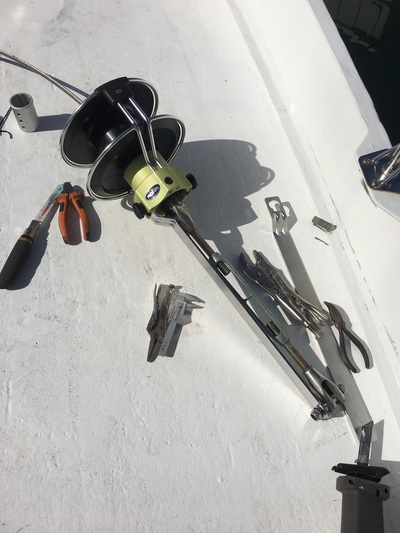
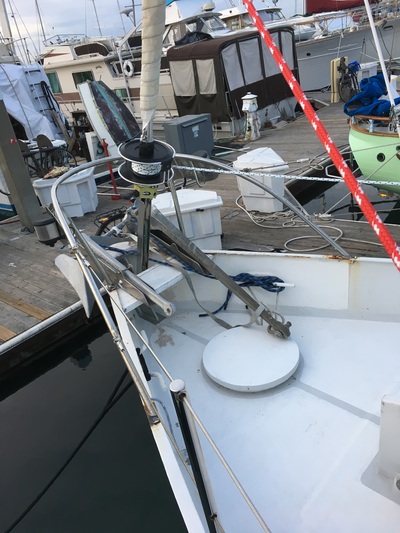
​The first step was converting the dual headstay back to a single stay.  After attaching the halyard forward to compensate, the stays were disconnected from the lower bracket.  Next I needed to go up the mast and disconnect the upper attachments.  Luckily we have mast steps and so with a harness clipped into a halyard for safety it was an easy climb.  I clipped the stays to my harness and brought them with me as I climbed back down.

With the dual stay removed I cleaned up and primed the steel and prepped for the furler drum attachment.
Picture
Picture


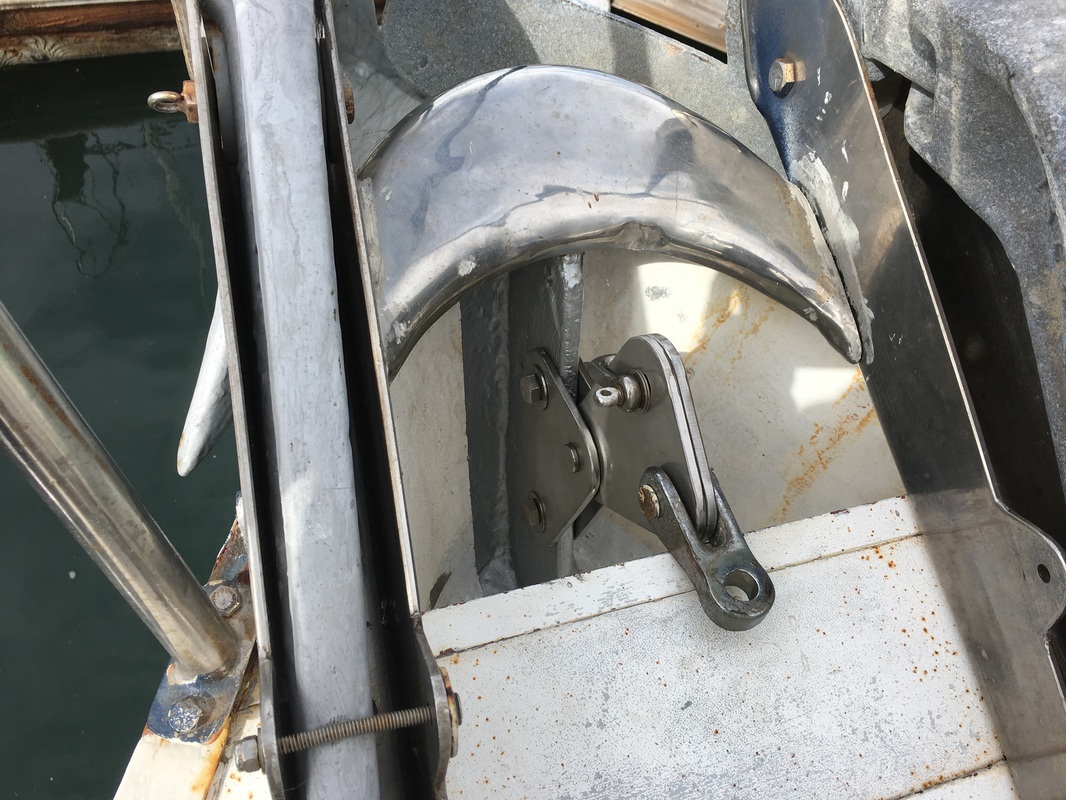
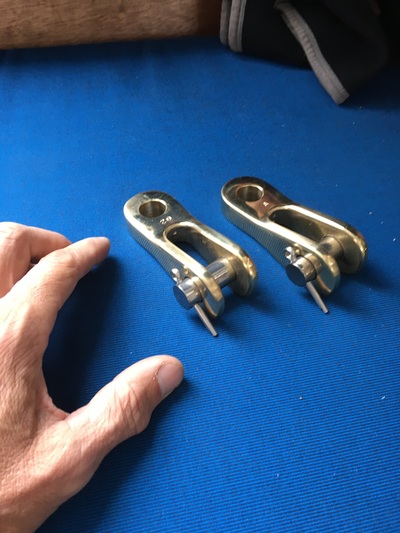
​I had some stainless plates made up at Seaport Stainless and put them on.  Unfortunately I would soon find out that these made the forestay much too long. This was the first hiccup.  I would eventually decide to remove them completely... I guess they will be available as rigging plates for future projects...
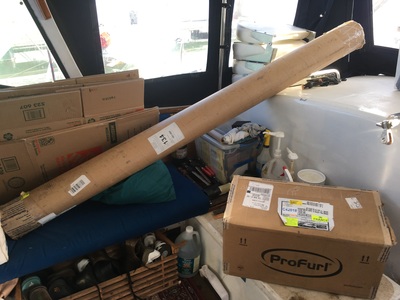
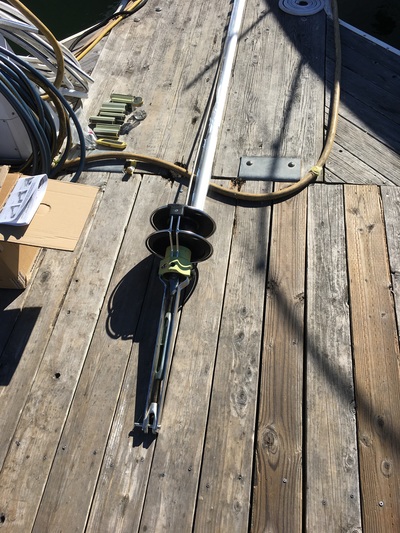
I ordered some new toggles while we worked on assembling the foils and furler drum.  The first thing we did was assemble the drum on the end of the stay to be sure things actually fit.  Once that was confirmed we moved out onto the docks to start the assembly.  

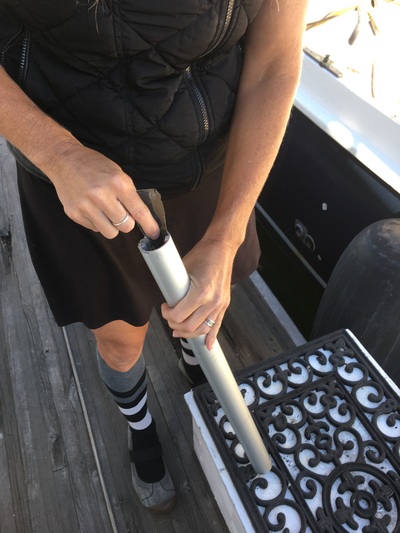
Our second hiccup was that the foils wouldn't fit over our sta-lok fitting at the bottom of the stay.  Luckily we could slide them over the pressed fitting at the top.  We got them all on and carefully cut and sanded the final one to get the length right.

Sliding them on from the top eventually complicated the final assembly and there wasn't enough room to get the last foil bearing on.  Somehow the instructions are in a certain order for a reason!  After some pulling and pushing we finally got it on and it was time to raise it up.
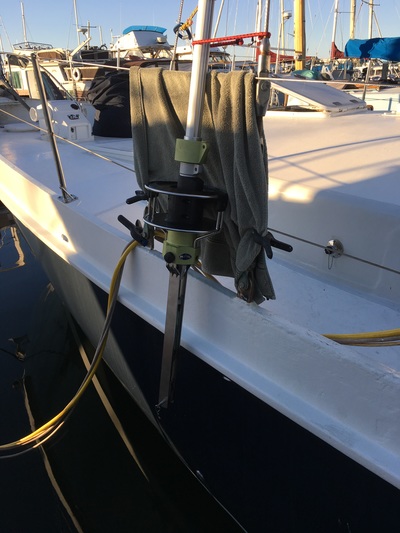
With the help of our dock mate we tied the top to the halyard and hauled her up.  We got the top of the stay attached and let the bottom hang by the shrouds.  After a few days the toggles arrived and we could finish our assembly of the stay.  

Btw.  We needed two toggles to get the orientation right with the furler drum.  With only one toggle it would have been rotated clockwise 90 degrees which would have led to issues with the furling line lead.
We attached the foil and drum and then ran the furling line back to the cockpit.  We used some small blocks we had in storage and ran the line though them.  Thats when I realized that the line I originally bought was too short.  I never accounted for the full length of the sail as well as the length of the boat.  Oh well.  Back to Amazon to order the right size and we are mostly good to go!!
Profurl C420 from Defender - here
​
Seaport Stainless - here
​

Comments are closed.

    AUTHORS

    Marc and Laura.  

    Rebuilding a 1960s dutch built ketch over 8 years in order to follow our dream.  

    We have years of stories of fixing up the boat and we plan to travel the world and show you every stop along the way.  We have kitesurfing, SCUBA and spearfishing gear and will let you know how each of these activities rate everywhere we go.  We also will have detailed video and info for each of the anchorages in case you want to follow in our footsteps ...

      Sign UP to Follow tHE ADVENTURE

    SIGN ME UP!!

    ​Hit SUBSCRIBE to follow our adventure on YouTube.

    Archives

    July 2018
    February 2018
    January 2018
    July 2017
    April 2017
    March 2017
    February 2017
    December 2016
    October 2016

    Categories

    All

    RSS Feed

Home

Copyright © 2016